


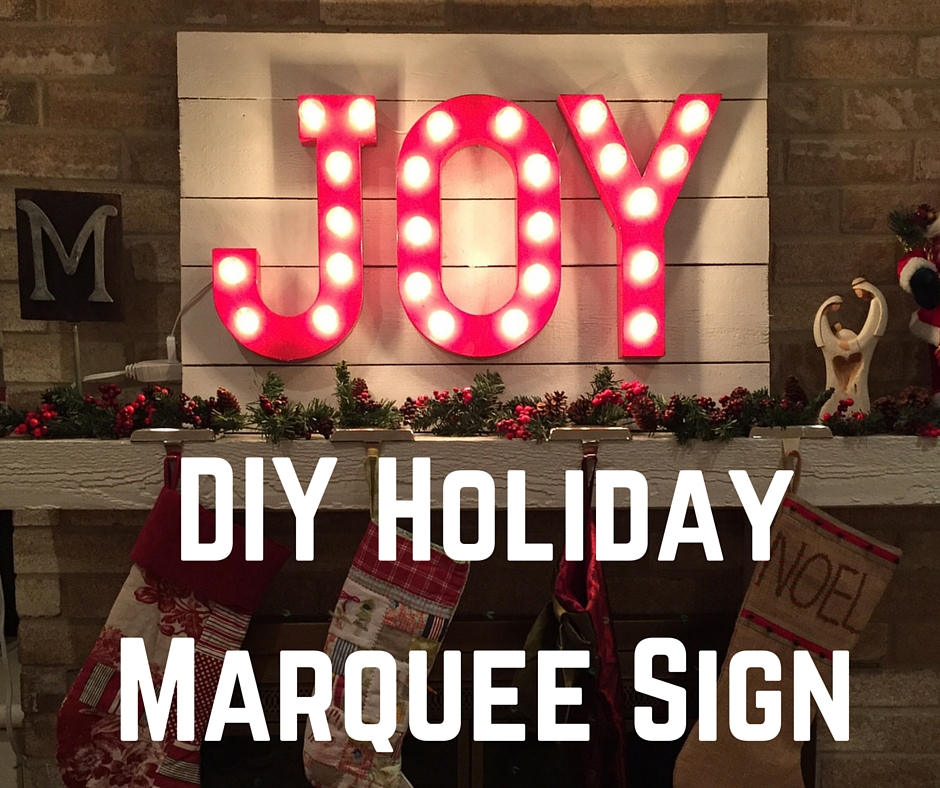
Every Christmas we like to add a new decoration to our home. This year we have a beautiful mantle to decorate whereas last year we didn’t even have a fireplace! (Our stockings hung on an armoire ha!) As I was shopping around I was seeing beautiful marquee signs but they were either too small for what I wanted over my fireplace OR extremely expensive!

Since I love a good DIY project, I looked up how to make our own via Pinterest.
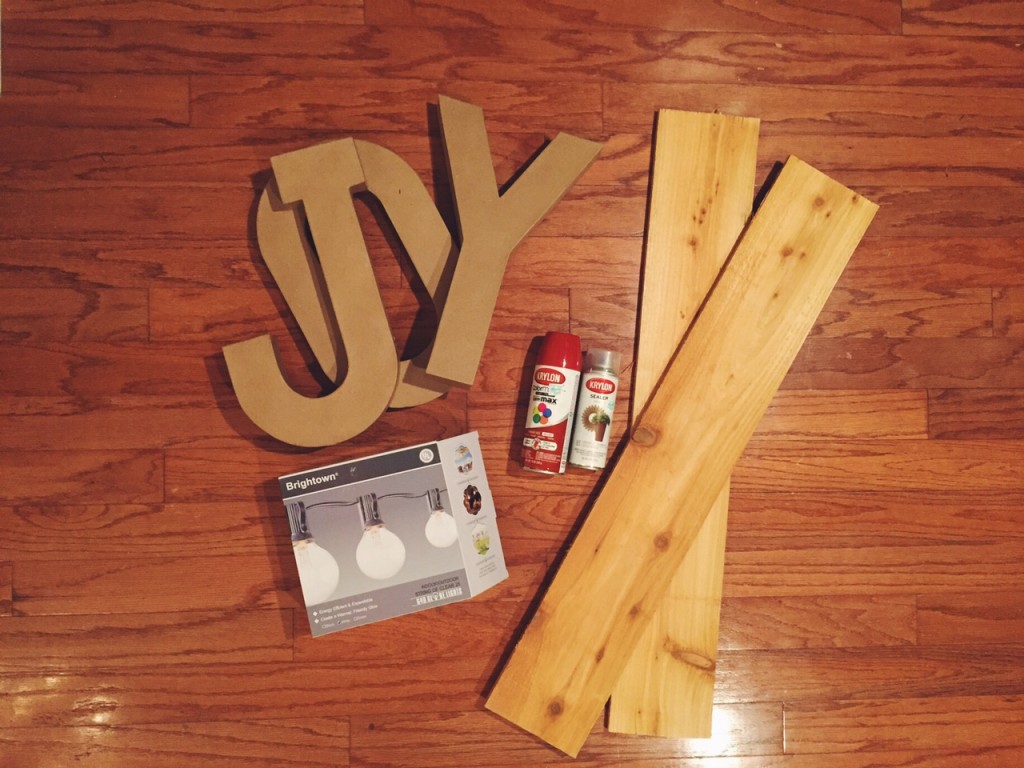
Supplies:
- Paper Maché letters ( I got mine at Hobby lobby for $4 each)
- Sealer + Spray Paint color of your choice (You need the sealer because paper maché is infamous for sucking up your paint like a sponge)
- A strand of 25 globe patio lights. (You can find some great deals on Amazon vs. retail locations)
- Plywood (and paint or a stain)
- Cutco knife
Step 1: Spray your paper maché letters with sealer. Let it dry and then spray with spray paint in the color of your choice.
Step 2: Using your Cutco knife, turn your letter to the back (wrong side) and cut around leaving a 1/2 inch from the outside of the letter. MAKE SURE you leave some of it all the way attached. Think of the back of the letter opening like a door. Sometimes there is cardboard stuffed inside of the letter and you can remove that!
Step 3: Use a pencil and mark “X’s” where you want your lights to be placed. Since you have 25, you can play with the placement. I did 7 lights on the “J”, 10 on the “O”, and 8 on the “Y.”
Step 4: Use the Cutco knife to cut through the “X’s” and then use the other end of your Cutco knife to help make the hole a bit bigger. The paper maché is a bit hard to poke through and was definitely the most tedious part of the process. I also used my finger to help make the hole more round.
Step 5: Poke the light bulbs through all of the holes to make sure they fit. Then turn the whole project upside down on a soft surface like an ottoman or bed so it is soft. Start with the bottom tip of the “J” and screw the lightbulbs into the sockets and stuff the excess wire into the paper maché mold. Once you get to the top of the “J” simply “close the door” to the back of the “J”, drag the cord over to the top of the “O” and continue until you are finished!
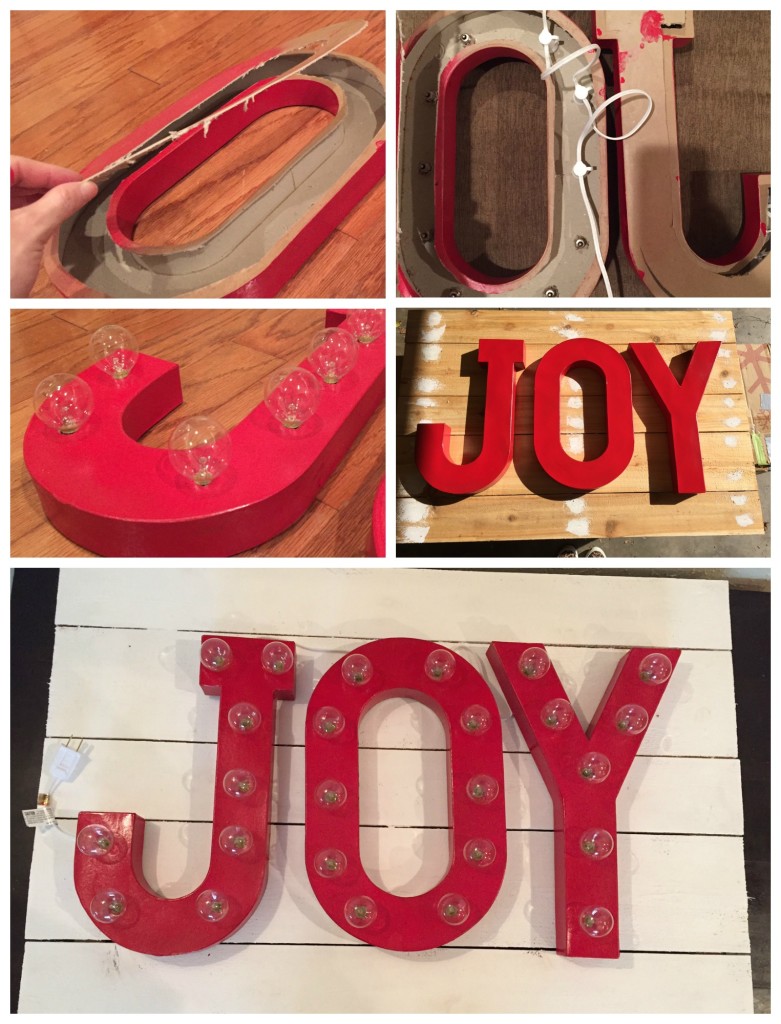
Step 6: My husband built a simple pallet from fence wood for me to hang the letters on. I had my daughter help me paint it which was the only part of this project I felt was kid-friendly (haha!) I bought 1 quart of white paint that included primer and didn’t even have to sand it! It was VERY simple and easy.
Side Note: My ORIGINAL plan was to stain the wood a gorgeous dark brown. What I didn’t know was that after you apply wood putty where your screws are (to fill up the holes), you can no longer stain the wood. OOPS?!?!? So if you want to stain your wood, DO NOT PUTTY!!!
Step 7: We nailed the letters through the back “door” of the paper maché onto the wood and then supported them with tiny nails on the front to help keep them straight and secure.
Step 8: Plug them in and ENJOY!!!
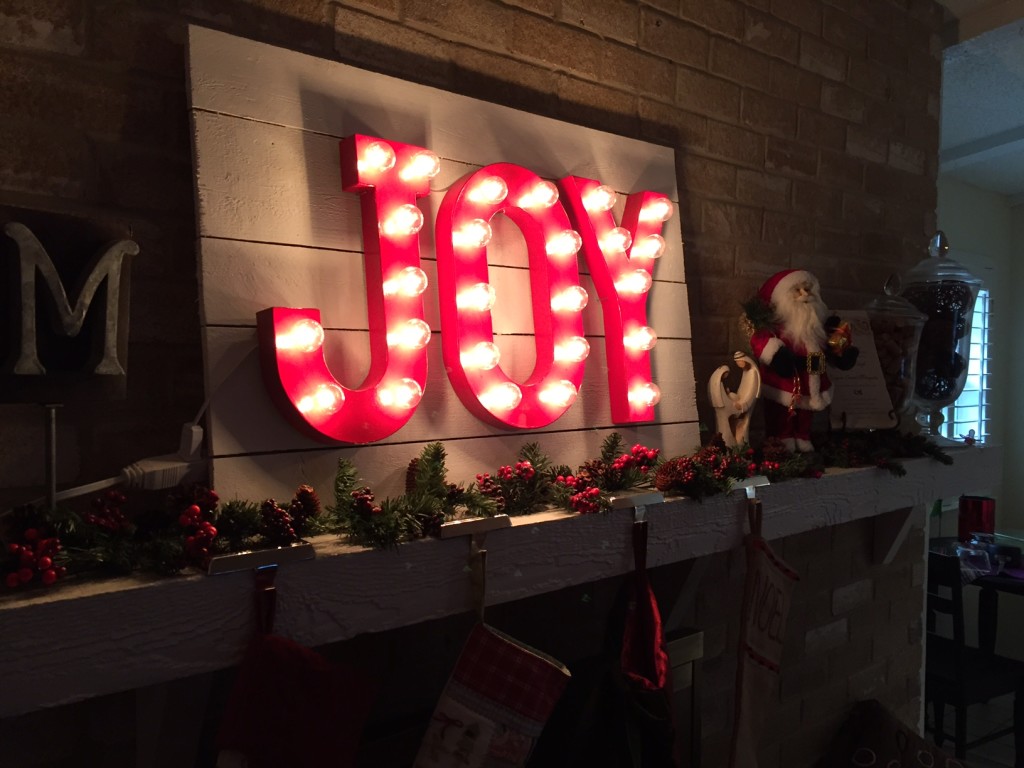
This project seemed a bit tedious while we were working on it, but once I saw the glow of the sign lighting up our living room and the SHEER delight in my daughter’s eyes when she saw it for the first time, I realized it was time well spent and a decoration we will enjoy for years to come!
Please do not hesitate to ask questions in the comments below and I will be sure to answer them!


